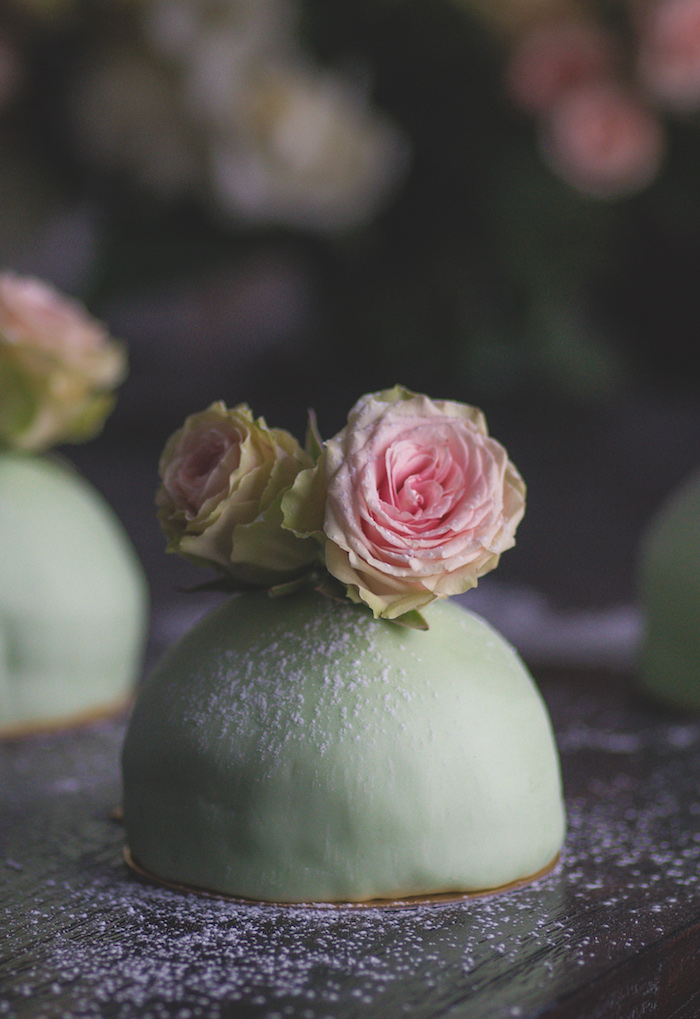
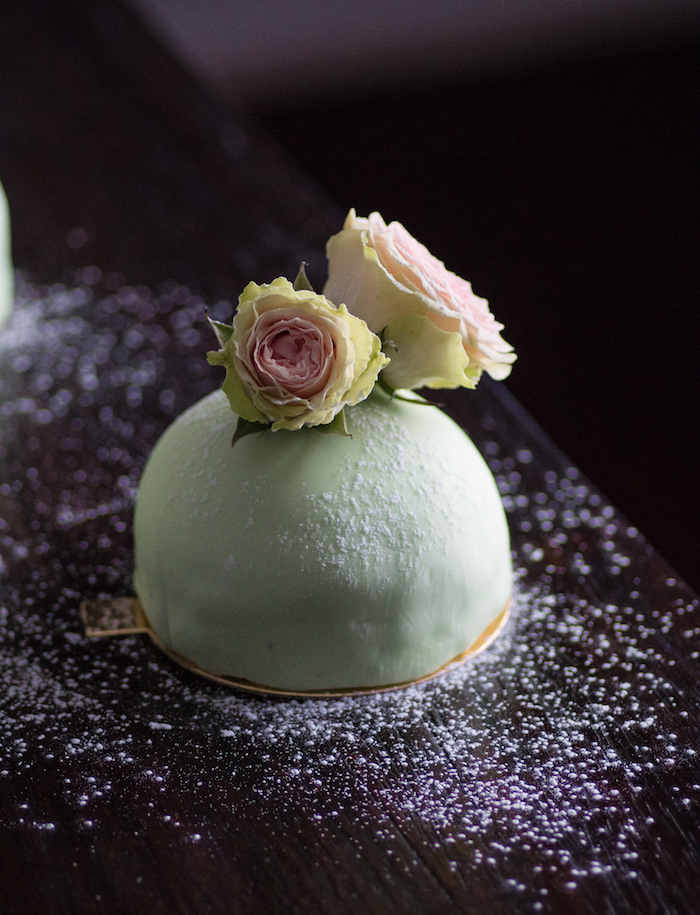
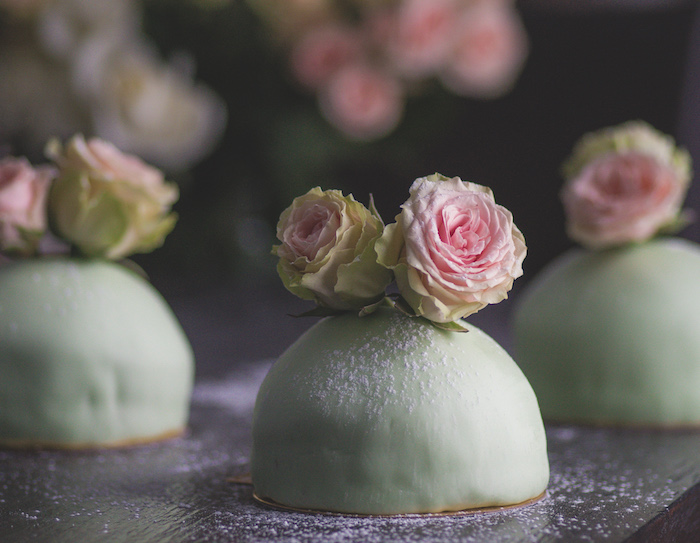
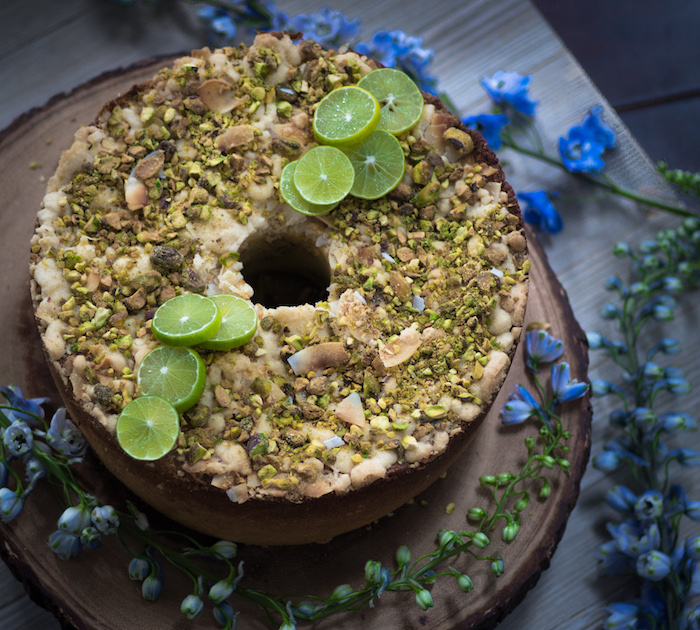
I have been admiring these sweet little cakes for a while and finally got the guts to try them. The princess cake or prinsesstårta
as it is called in Sweden got its name from three princesses around the 1930's that called it a favorite (at the time called
green cake). I have a version of the recipe in a cookbook from Miette bakery and this attempt is modeled after those assembly instructions, but
with some alterations.
Traditionally it is covered in marzipan, but Miette uses fondant, so I went that route - although I am not a huge fan of either.
The cake was still good with the fondant, although I do want to investigate fondant/marzipan alternatives. In the end, this recipe was pretty simple,
which is not how I thought it was going to go.
The hardest part is molding the whipped cream and placing and tucking the fondant.
With a little practice, I hope to make this process smoother and more polished. Here's to tackling things that intimidate us, however big or small and enjoying being pleasantly surprised!
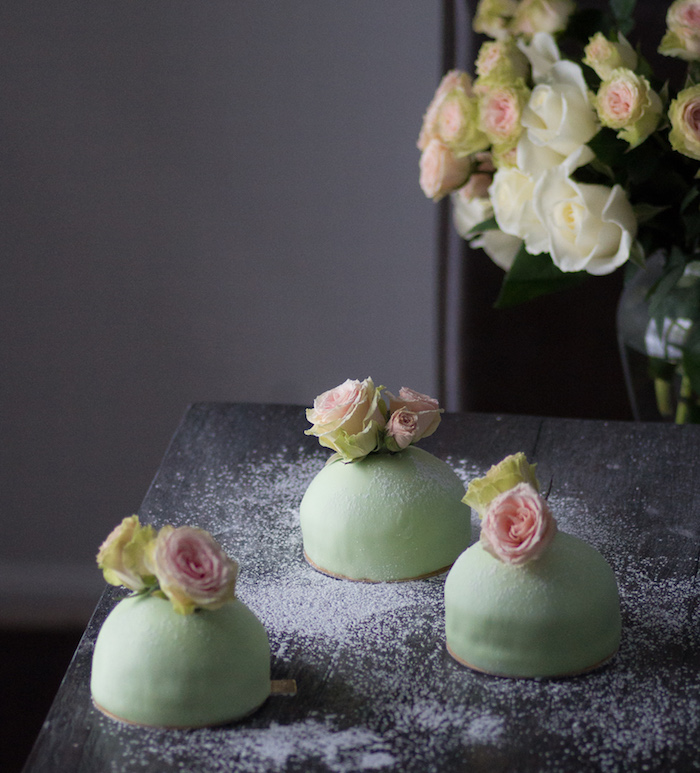
Mini Swedish Princess Cakes
Recipe for mini Swedish princess cakes. By Marysmaking
Prep time: - Cook time: - Total time: Yield:6S
Ingredients
- 2 1/4 cups cake flour (spoon into measuring cups)
- 1 cup cream (at room temperature)
- 6 egg whites about 3/4 cup (save yolks for pastry cream)
- 1 t vanilla extract
- 1 3/4 cups sugar
- 4 t baking powder
- 1 t salt
- 12 T (1.5 sticks) unsalted butter (softened but still a bit cool)
- 1 cup raspberry or jam of choice (I use blueberry jam)
- 48 oz (two boxes - if purchasing) white fondant
- green food coloring (I used Wilton Kelly Green)
- fresh or sugared pink roses
For Pastry Cream
- 7 egg yolks
- 2 cups cream
- 1/2 t vanilla bean
- 1/2 cup sugar
- 2 T cornstarch
- 2 T unsalted butter (room temperature)
Directions
Preheat oven 350F
Spray 6 springform pans and dust with a little flour, then make sure the middle oven rack is set.
In a small bowl, fork whisk egg whites, milk and vanilla and set aside.
In electric mixer bowl add flour, sugar, baking powder and salt and mix briefly.
Add butter to dry ingredients and mix until resembles moist crumbs.
Add all but 1/2 cup of milk mixture and beat for 1 1/2 minutes.
Add the rest of milk and beat for 30 more seconds.
Scrape sides of bowl and mix 20 more seconds.
*Times are to prevent over mixing.
Divide batter amoung six pans evenly, smooth tops and rap gently on counter to remove any bubbles.
Place pans in oven evenly space and 3 inches from oven walls.
Bake for about 15 minutes or cake tester is clean. Cake will turn a golden color.
For Pastry Cream
Heat milk and vanilla in a medium sauce pan right before boiling - you will know because tiny bubbles will be forming around the edges of the milk.
In a separate bowl, whisk egg yolks, sugar and cornstarch until combined, then pour a little of the hot milk in to temper while whisking constantly, slow add the rest of the milk until it is all gone.
Add the mixture back to the pan and heat over medium-low until mixture thickens (about 2 minutes).
Then strain through fine-mesh sieve and let cool for 10 minutes, then whisk in butter.
Cover with plastic wrap (should touch entire surface of cream) and store in fridge for at least 1 hour and until ready for final cake assembly.
For Assembly
Be sure you have enough space for cakes in fridge because they will be going in and out in this process.
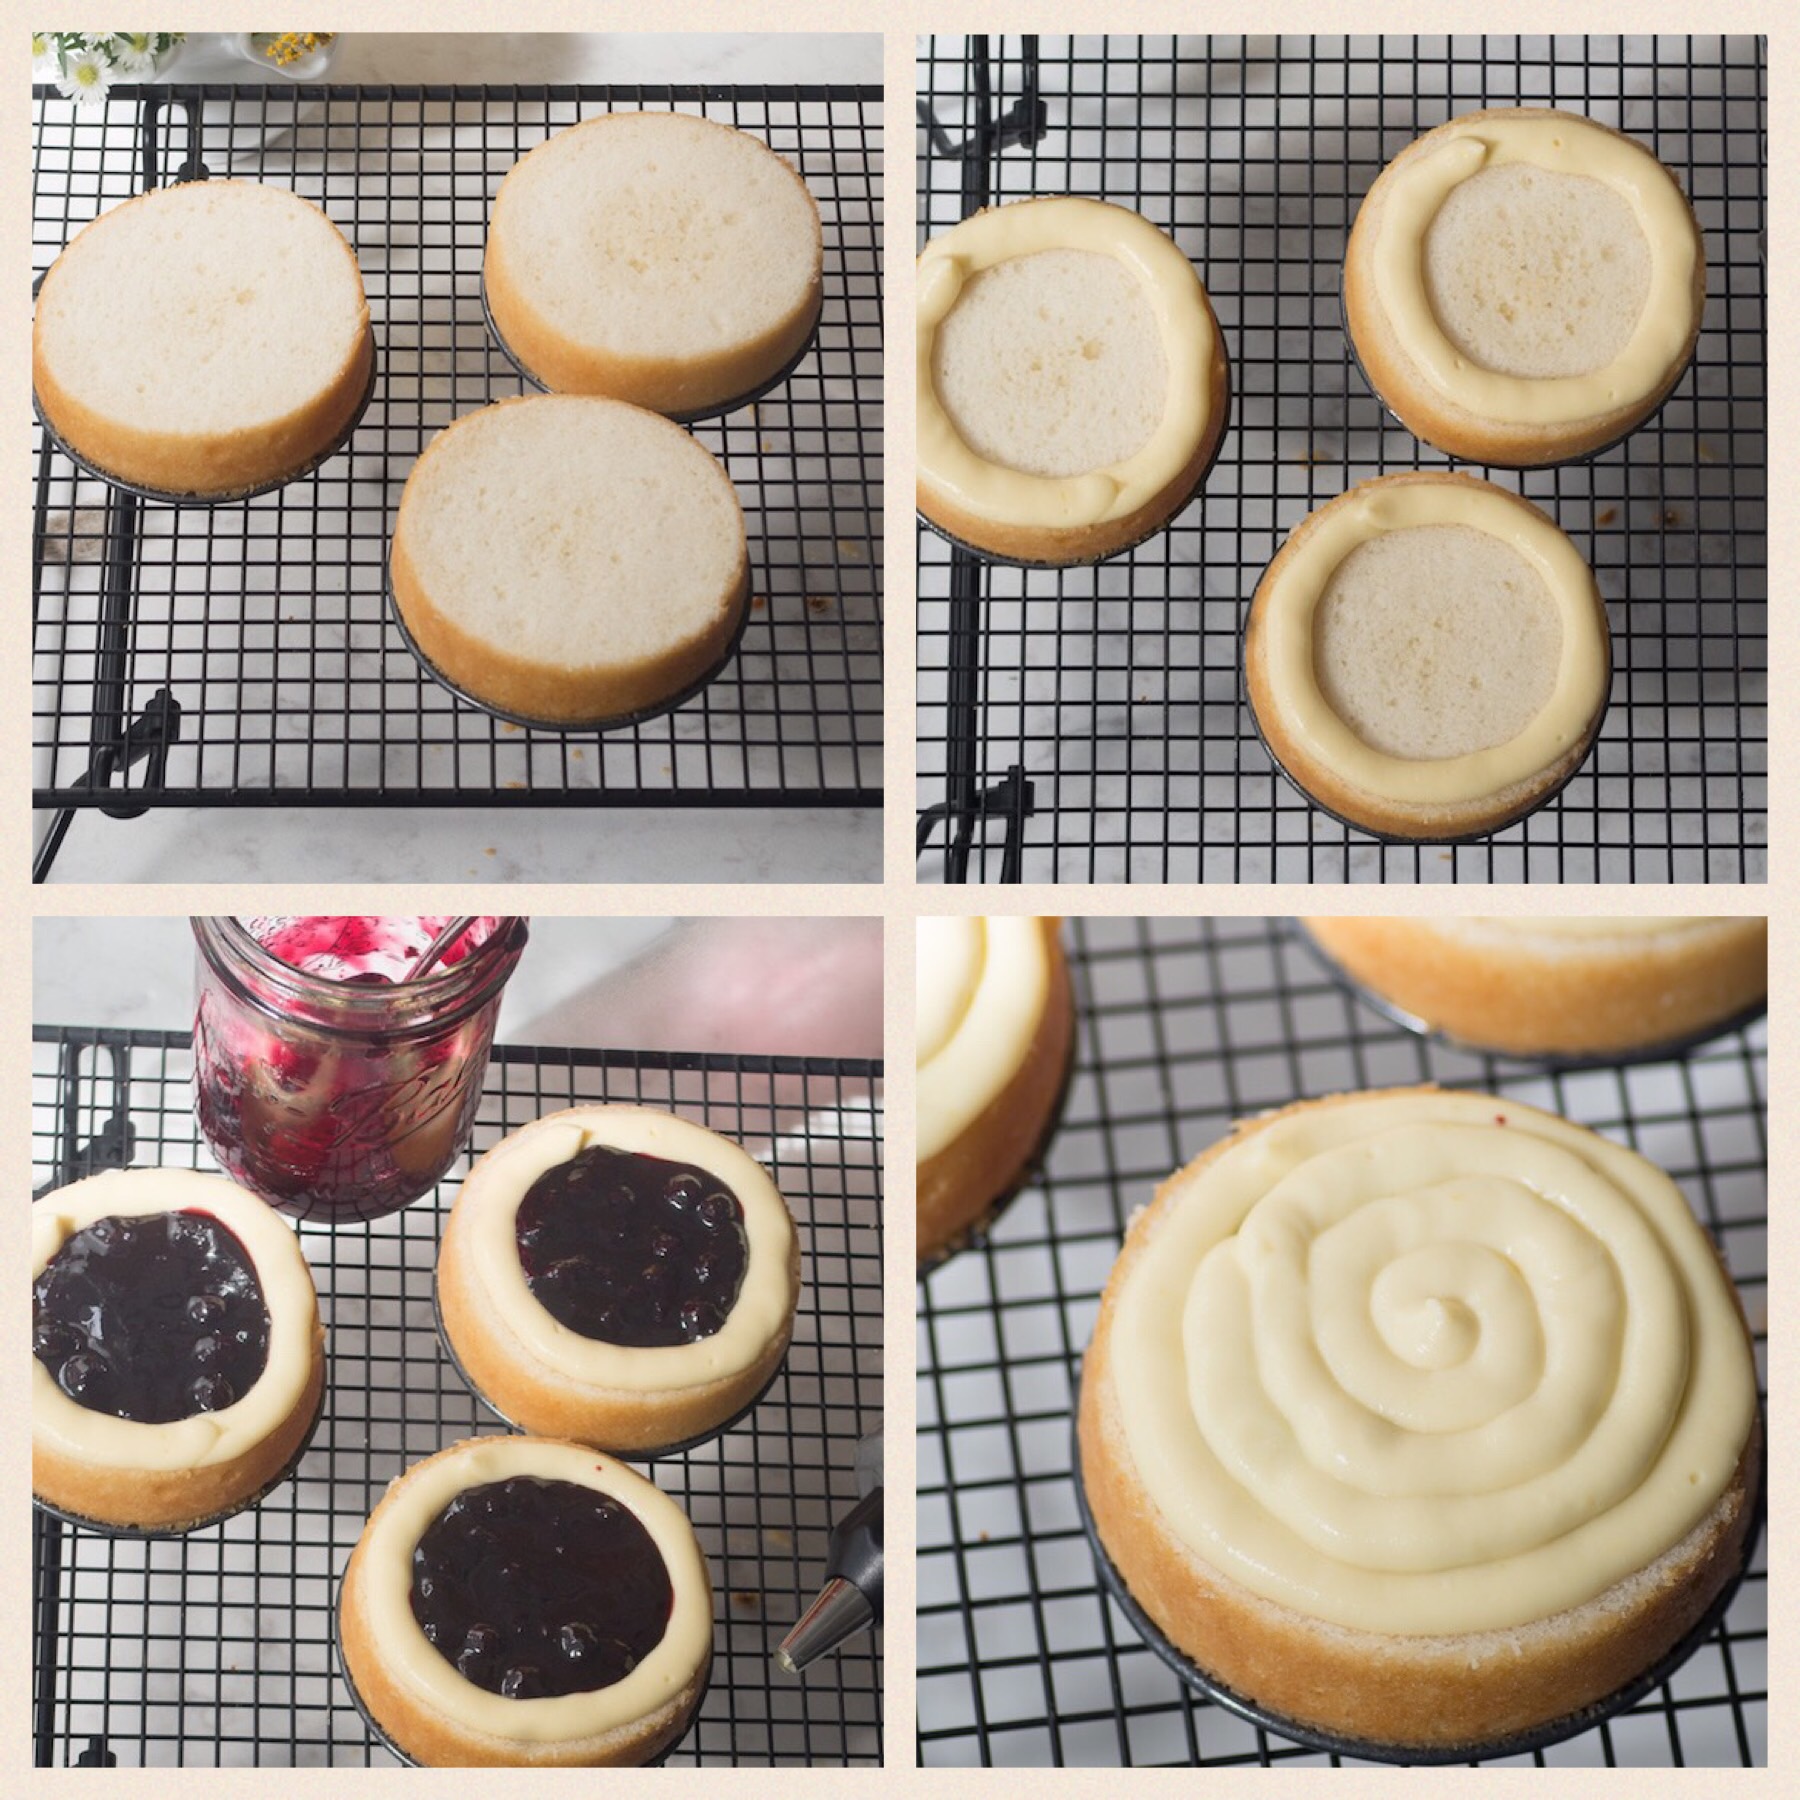
Remove cooled cakes from pans, with knife (I use electric) cut off as little of the top as possible (the goal is just to make it flat)
Then cut the cake in half, reserve the top layer for later.
Fill a pastry bag with pastry cream and heat jam in microwave until it is at a pourable consistency (about 30-45 seconds).
Next pipe a circle along the outer edge of the cake.
Fill the center with a layer of jam and then pipe a tight spiral of pastry cream over the jam layer so that it is covered completely.
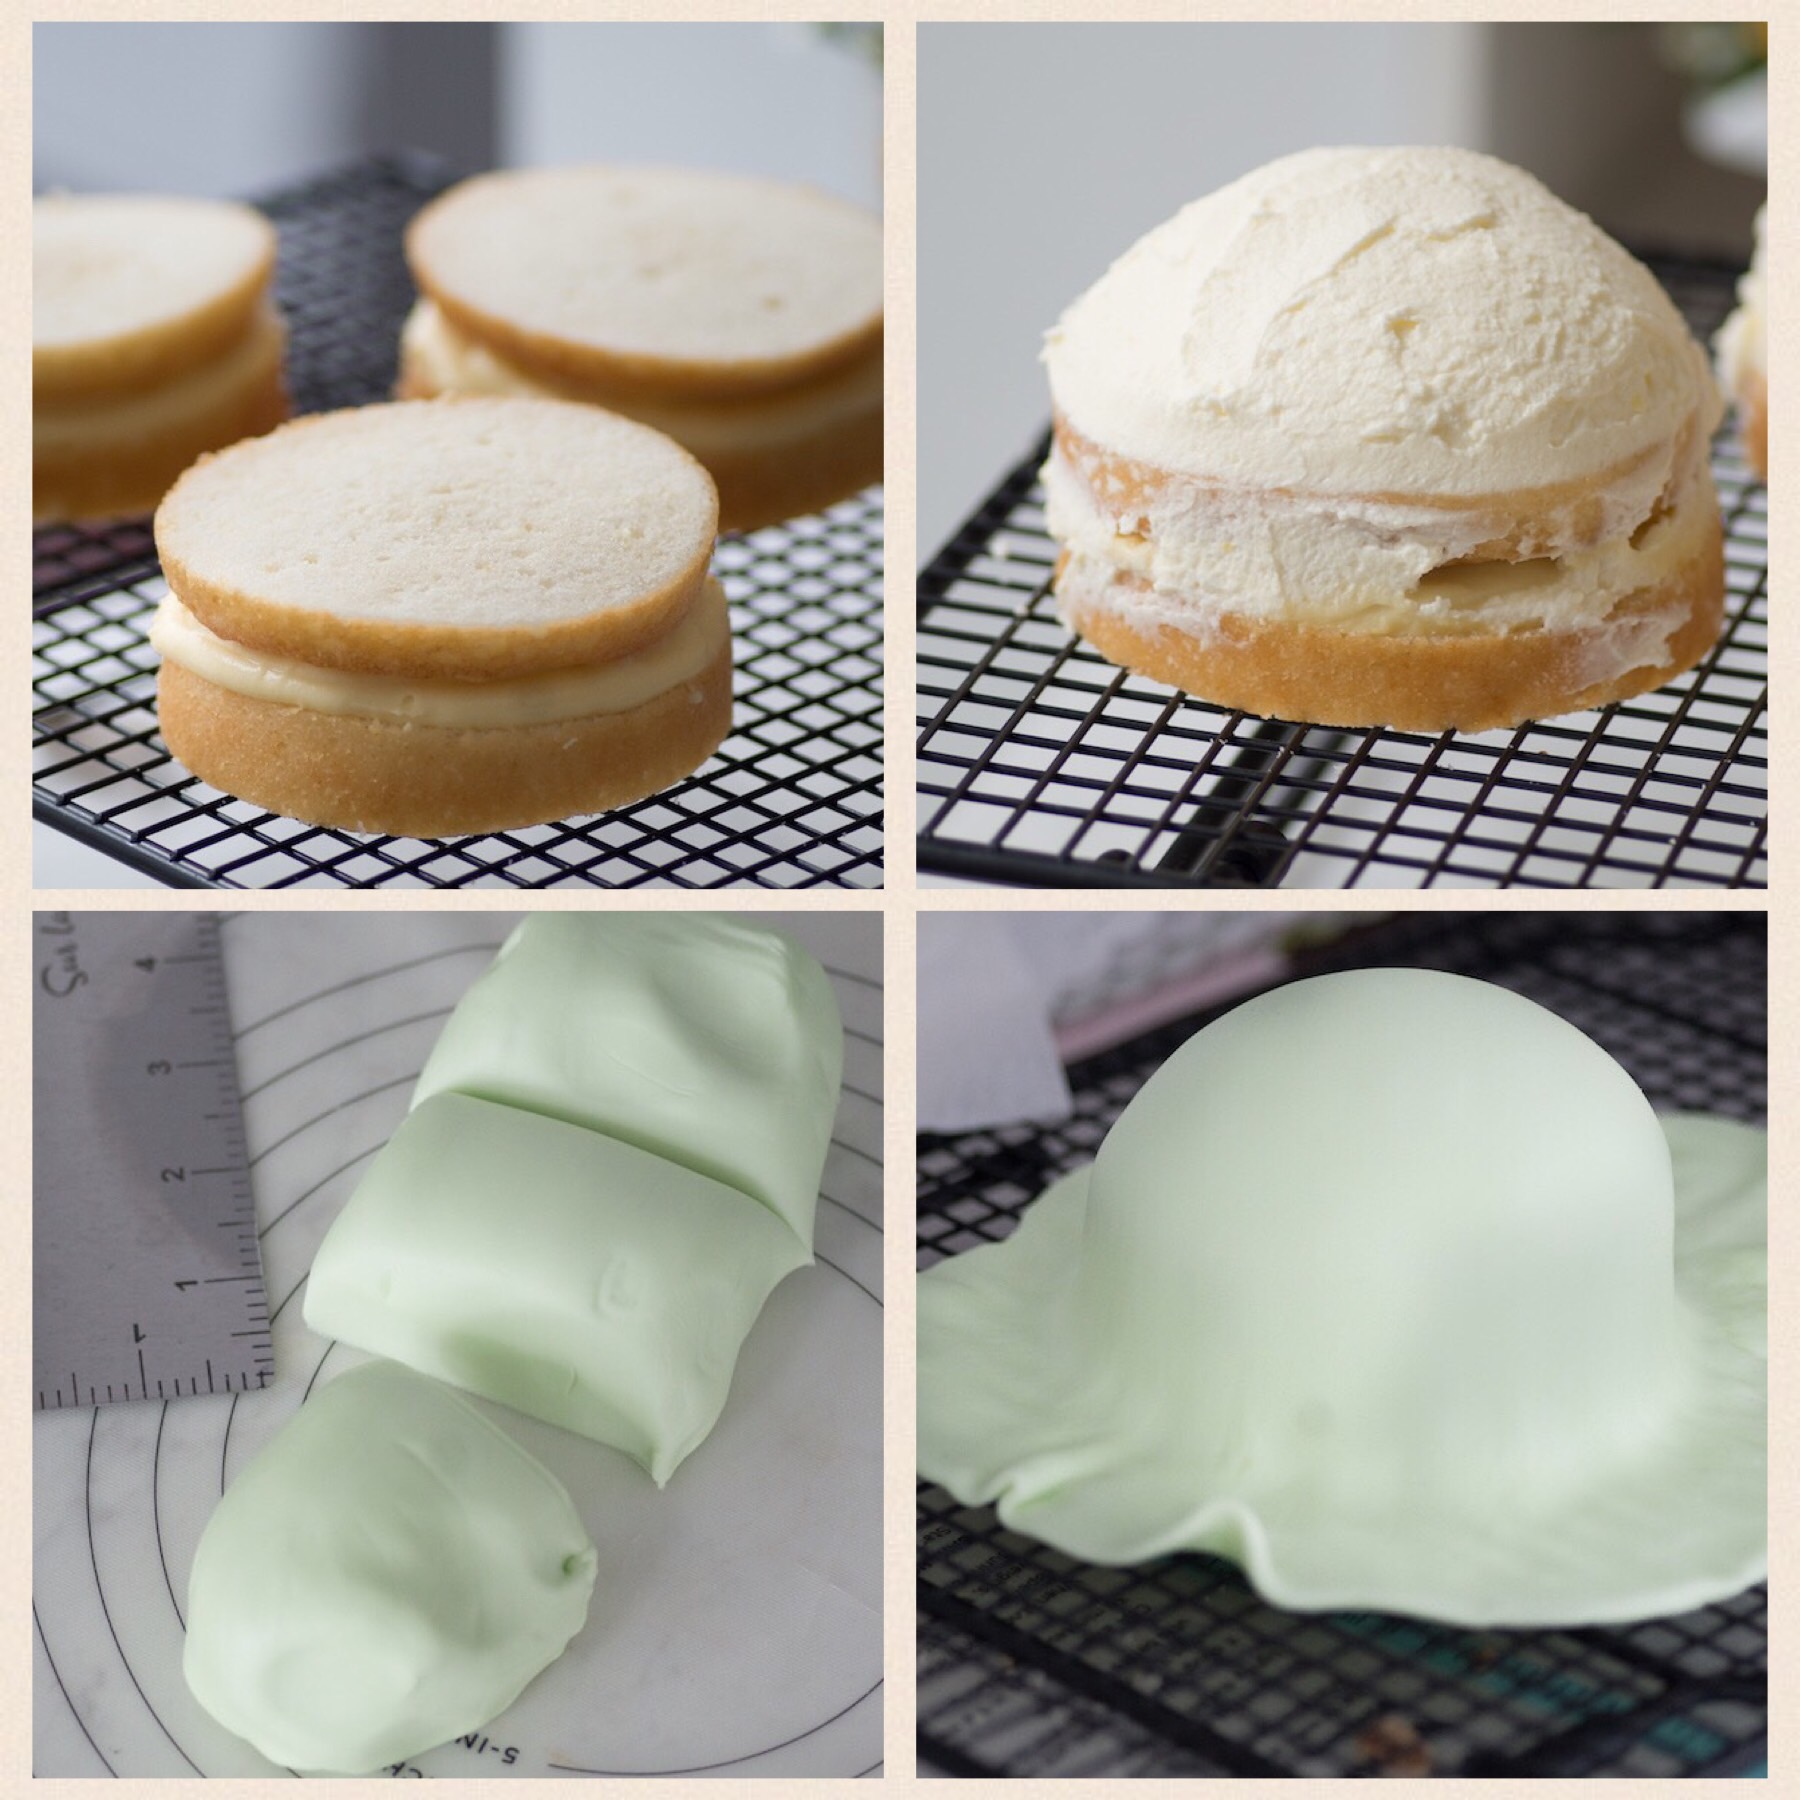
Place second cake layer over pastry cream and stick in the fridge.
Next beat heavy whipping cream and powdered sugar in cold bowl on high until stiff peaks form (about 4 minutes - on the brink of becoming butter) - it is important to make sure it is thick so it holds it's form.
Take cakes out of fridge and begin to form a dome of whipped cream on the top cake layer (easiest with straight baker's spatula).
Put cakes back in fridge and then prepare the fondant.
Knead fondant and use a TINY dot of green food color and continue kneading until color is uniform throughout.
Divide fondant into 6 equal pieces and then roll out into a circle between 8 and 9 inches in diameter (should be around 1/4" thick).
Remove cakes and drape each in fondant an cut around cake leaving about a half inch edge for you to tuck under cake.
A nice feature of the mini cakes is that you can place the cake in one hand and gently manipulate fondant under cake and reshape if needed.
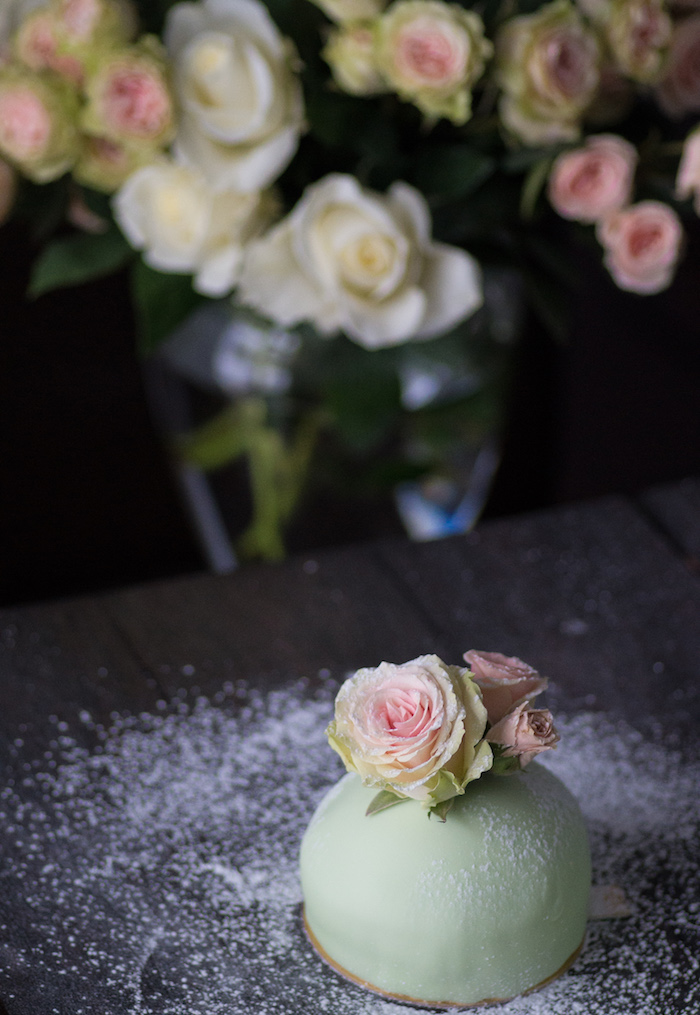
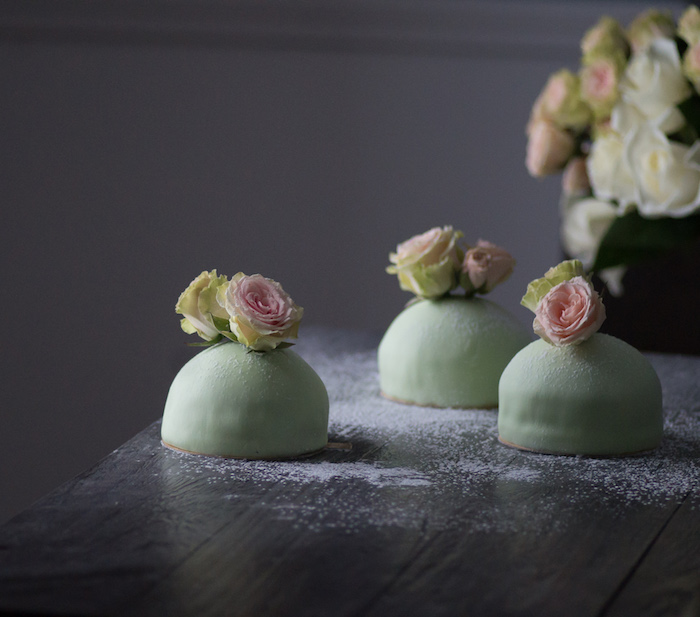
Once all cakes are covered in fondant, top with fresh or candied pink rose and dusting of powdered sugar.